77 Easy Nail Art Hacks at Home That Look Salon-Done
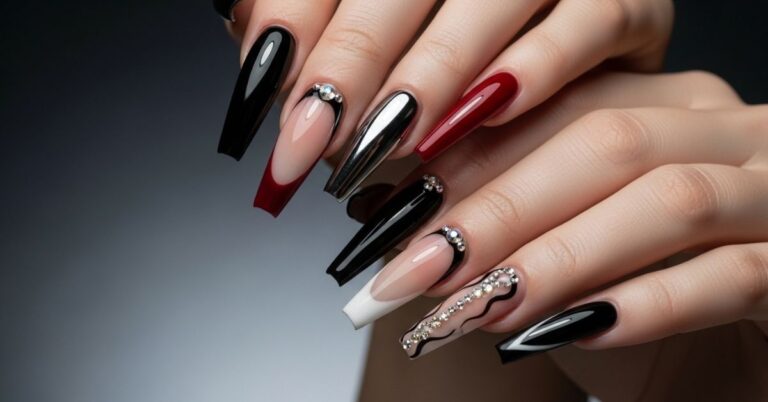
You know that moment when you’re deep in a Pinterest spiral at midnight, saving nail designs you’re convinced you could never recreate yourself? That feeling is way more common than you think and also completely wrong. Most of those stunning manicures that get saved 80,000 times come down to a few surprisingly simple tricks anyone can pull off at home. These easy nail art hacks at home are about to change the way you see your own kitchen table.
This list is for anyone who loves the look of a fresh manicure but doesn’t always have the time, budget, or steady hand of a trained nail tech. If your style leans clean and minimal or goes full maximalist depending on the day, there’s something here for you. And honestly? Some of these are so satisfying to do that they become their own kind of stress relief.
It’s 2026, and DIY nail art has evolved past glittery French tips and basic stamping kits. The designs worth knowing now are wearable, low-effort, and genuinely impressive no specialty tools required, just clever technique. Let’s get into it.
Scotch Tape French Tips with Zero Wobble
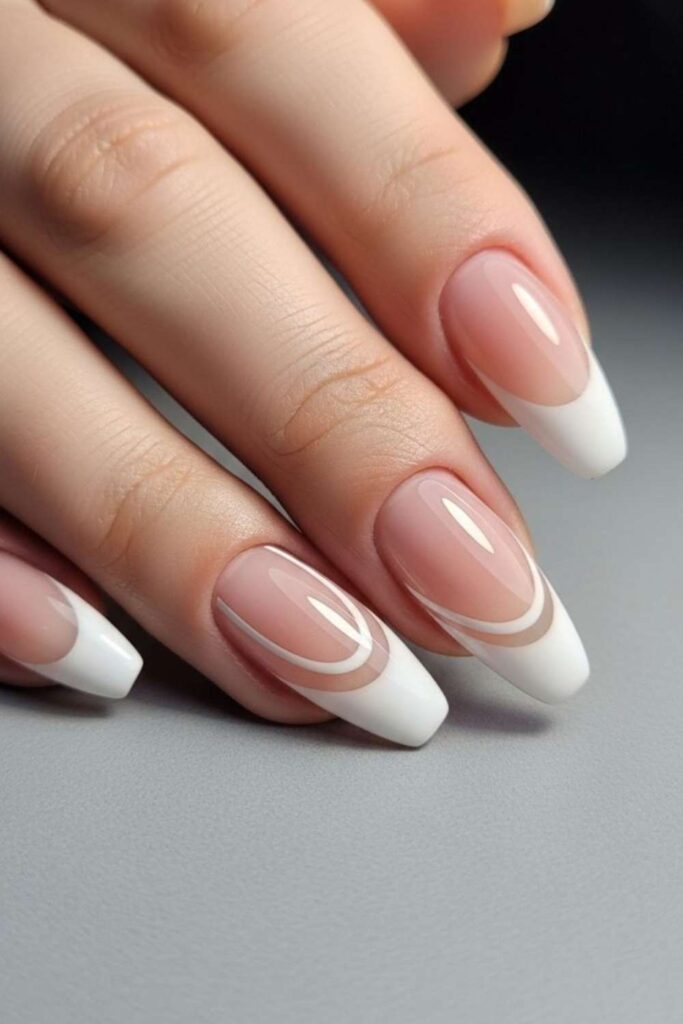
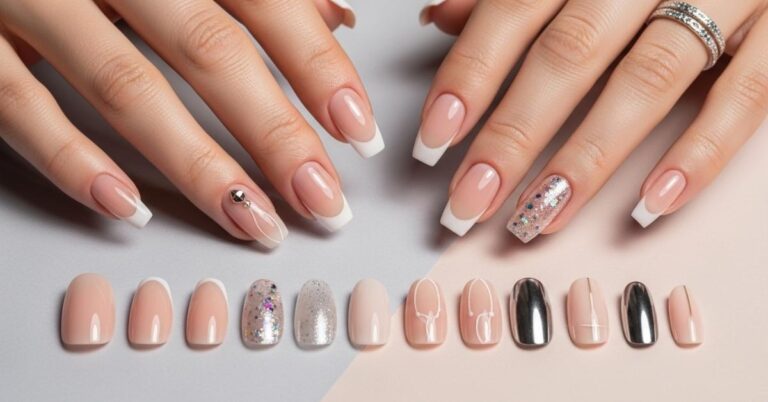
The classic French tip looks deceptively simple until you try to paint a straight line freehand and end up with something that looks like a seismograph reading. Tape solves this instantly. Press a strip of Scotch tape across the lower portion of your nail at whatever angle you want straight, diagonal, or curved paint the exposed tip, wait about 60 seconds, then peel slowly. You’re left with a line so clean it looks machine-made.
What most people skip: instead of the standard white tip, try a warm terracotta or dusty rose for a modern French that feels fresh without any extra effort. In my experience, this works best when the tape sits for at least 30 seconds after pressing so the edges seal properly. You’ll use this trick constantly.
Bobby Pin Dot Art That Takes 5 Minutes Flat
Dotting tools are great, but a bobby pin does the exact same job and costs nothing. Dip the rounded end into any nail polish and tap it gently onto your nail for a perfect, consistent circle every time. Use the two different-sized ends to create layered dot patterns, or scatter them randomly over a nude base for something that looks intentional and graphic without being complicated.
This is one of the best easy nail art hacks at home because it unlocks an entire design category polka dots, flower centers, confetti patterns with something already sitting in your bathroom drawer. Works beautifully over white, black, or any neutral base.
Sheer Jelly Nails Using Regular Polish
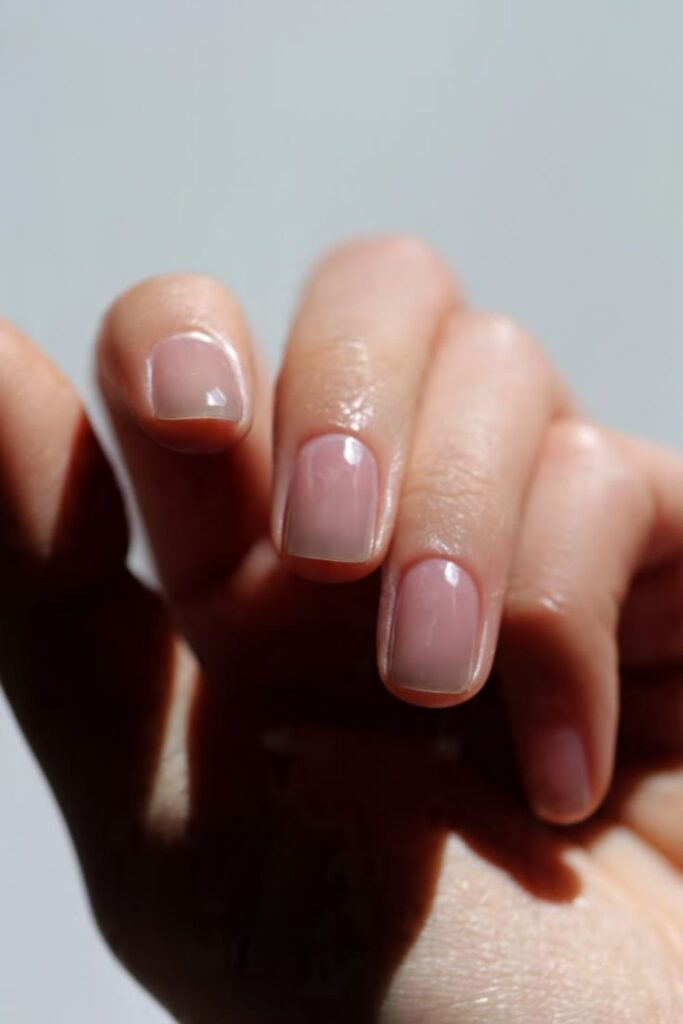
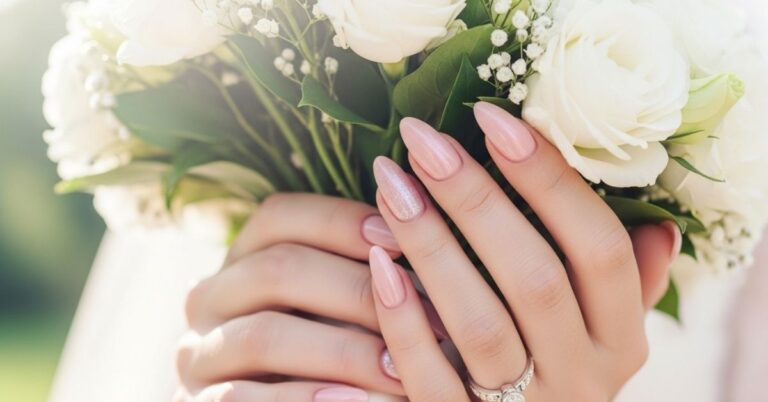
The glossy, translucent jelly nail look has been everywhere lately, and you don’t need a specific jelly formula to get it. Mix one small drop of regular nail polish into a generous amount of clear top coat on a palette or piece of foil, then apply that mixture in one thin coat. The result is that soft, glass-like wash of color that looks expensive and feels effortless to wear.
Sheer nails are also the most forgiving style for uneven application minor imperfections just disappear under the transparency. Go for soft peach, baby pink, or icy lilac if you want the most wearable version.
Matte Top Coat to Transform Any Nail Polish
This one is so simple it almost feels like cheating. Any glossy polish you already own becomes a completely different look the second you add a matte top coat over it. Deep burgundy turns moody and editorial. Nude pink feels sophisticated and understated. Even bright colors shift into something unexpectedly cool when the shine is removed.
If you want low-effort but genuinely put-together nails, keeping a matte top coat in your kit is one of the smartest moves. It also tends to add a layer of durability, which is a bonus nobody talks about enough. One bottle, infinite variations.
Plastic Bag Marble Effect
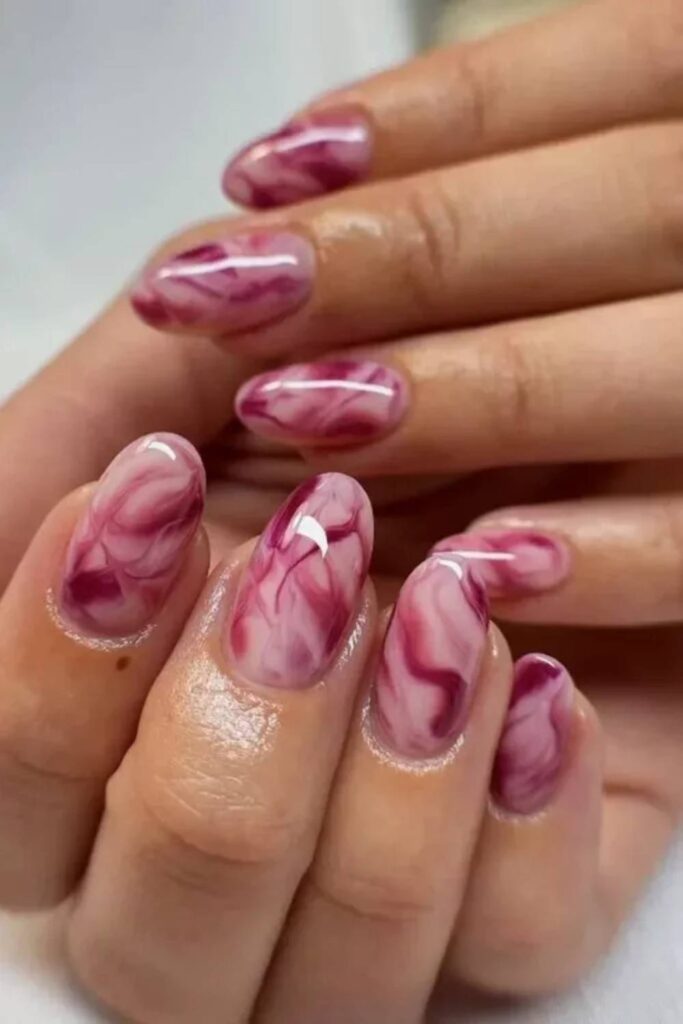
Yes, a crumpled plastic bag. Scrunch it up, dab it into wet nail polish on your nail (or on a foil palette and then dab onto your nail), and what you get is a convincingly marble-like texture with almost no skill required. Use grey and white together, or try black over a chrome silver for something more dramatic.
The trick that makes this look expensive rather than messy: keep the colors close in tone. High contrast combinations can look muddy, but similar shades create that soft, veined marble you’re actually going for. This is exactly the kind of hack that gets saved 50,000 times for a reason.
Toothpick Swirl Nails
Drop two or three polishes onto a palette or the back of a spoon while they’re still wet, then drag a toothpick through them in S-shapes, spirals, or waves. Apply the swirled mix directly to your nail (or do the swirl directly on top of a wet base coat). Every nail comes out slightly different, which is part of the charm and why this style photographs so well.
This is one of the easy nail art hacks at home that delivers maximum visual payoff for almost zero technique. The more relaxed and loose your swirl, the better it usually looks. Don’t overthink it.
Sponge Gradient Nails on a Makeup Sponge
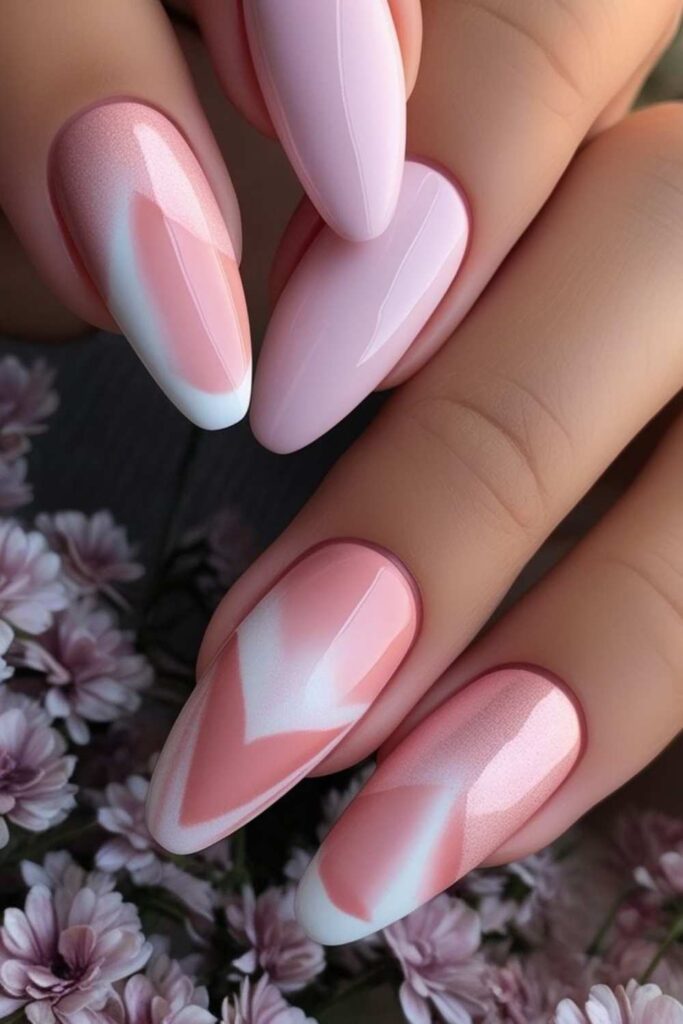
A gradient nail sounds technically demanding, and it would be if you were blending with a brush. A makeup sponge changes everything. Paint two or three colors in overlapping stripes directly onto the sponge, then press and dab it gently onto your nail. Repeat two or three times, add a glossy top coat, and you have an ombre effect that looks genuinely seamless.
The key that most tutorials miss: apply a layer of clear base coat on your nail just before sponging. It keeps the surface tacky and helps the pigment transfer more evenly. Once you know this, the whole process becomes significantly less frustrating.
Striping Tape Geometric Designs
Striping tape that ultra-thin adhesive line sold at beauty supply shops for next to nothing is one of the most underrated tools for easy nail art hacks at home. Lay two or three strips across a colored base in different directions, paint over the top in a contrasting color, let it dry for 90 seconds, then lift the tape. What’s underneath is a geometric negative space design that looks architectural and intentional.
Gold or silver striping tape left on permanently (instead of being removed) also works as its own design element. Two completely different looks, same tool.
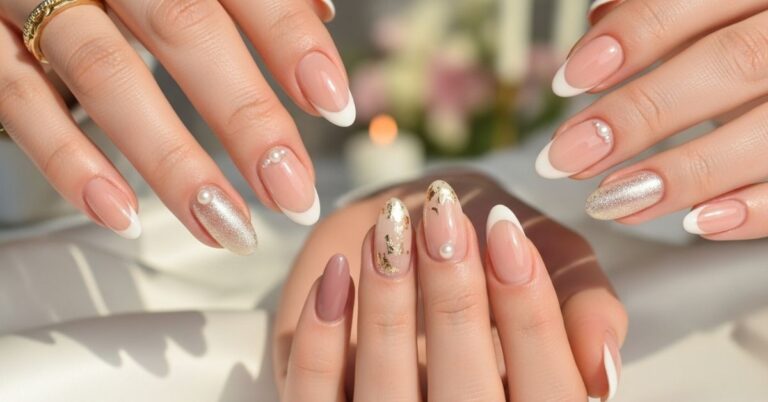
Glossy Nude Almond Nails with Gold Foil Accents
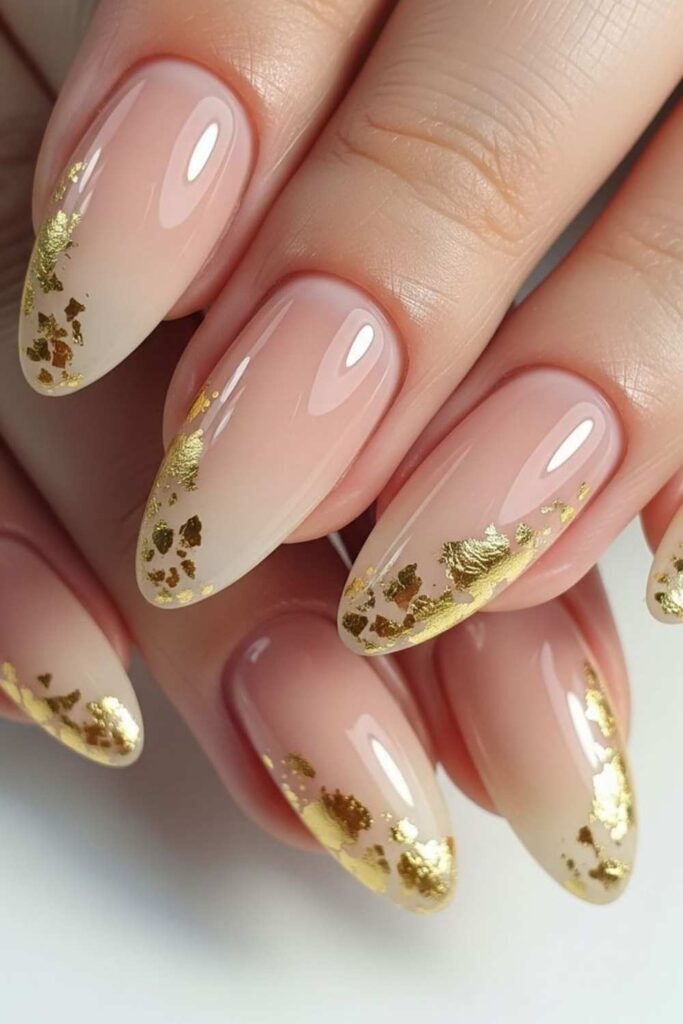
A nude base is already quietly elegant on its own. Adding a few irregular pieces of gold nail foil pressed on over tacky top coat and lifted with a dry brush pushes it into genuinely expensive-looking territory without adding complexity. The foil catches light differently than glitter and has a texture that reads as high-end.
I’ve noticed this style tends to work best on longer nail shapes where the foil has space to sit without overwhelming the nail. On shorter nails, keep the foil minimal one or two small pieces near the cuticle looks chic, not cluttered.
Rubber Band Resist Technique
Wrap a thin rubber band around your finger across the nail (or use a hair tie stretched tightly), paint over it, dry for 60 seconds, then carefully slide it off. You’ll get a perfectly clean diagonal stripe in whatever color your base is, framed by the color you just painted. It’s a crisp, clean look that resembles something you’d see in a nail salon without paying for it.
Switch up the angle of the rubber band across different fingers so the stripe direction varies it creates a coordinated-but-not-matchy set that always looks deliberate.
Matte Black Tips with Subtle Chrome Edge
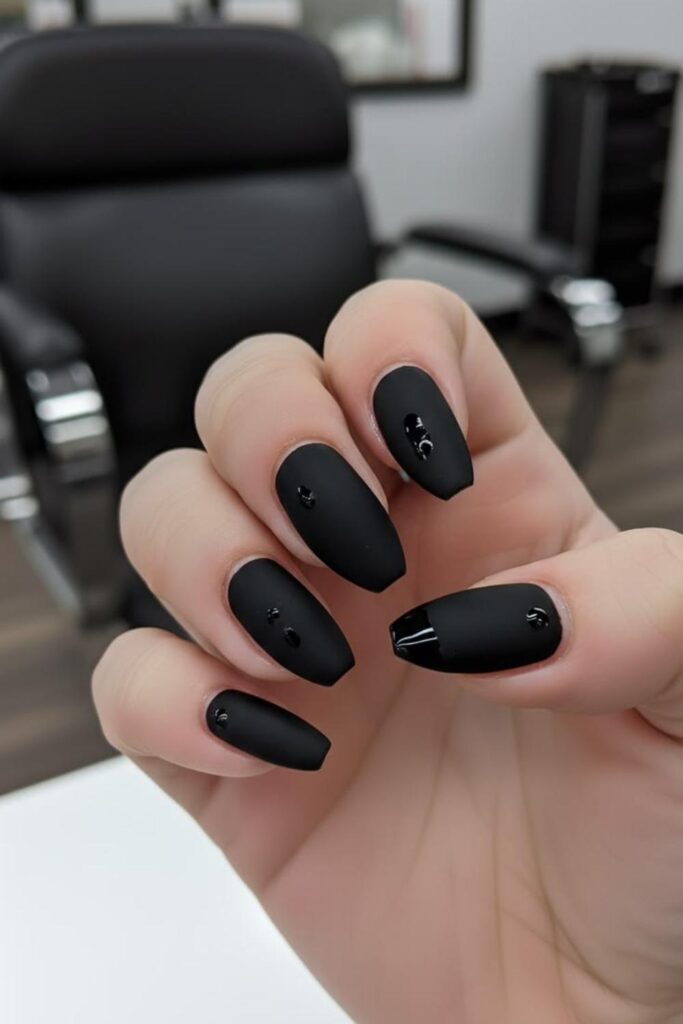
Regular black nail art can feel heavy or flat depending on the formula. Taking a fine brush or angled liner brush dipped in chrome powder and running it just along the tip or the edge of a black nail adds a dimension that looks almost three-dimensional under light. It’s a small detail that most people notice without being able to explain why the nails look so polished.
This is one of those looks you’ll probably find yourself reaching for more than expected especially during autumn and winter when the combination reads as particularly sharp.
Stamping with a Credit Card
Nail stamping plates are fun, but an old gift card or credit card gives you a completely different design option. Paint a stripe of color across the edge of the card, then drag it lightly across the nail in a single swipe. You get a color-wash or negative space streak effect that looks like something from an editorial shoot.
Multiple passes in slightly different angles layer the color in a way that mimics an airbrushed finish. One of the more underrated easy nail art hacks at home for anyone who wants something abstract and artistic.
Floral Nails with a Thin Brush and Five Dots
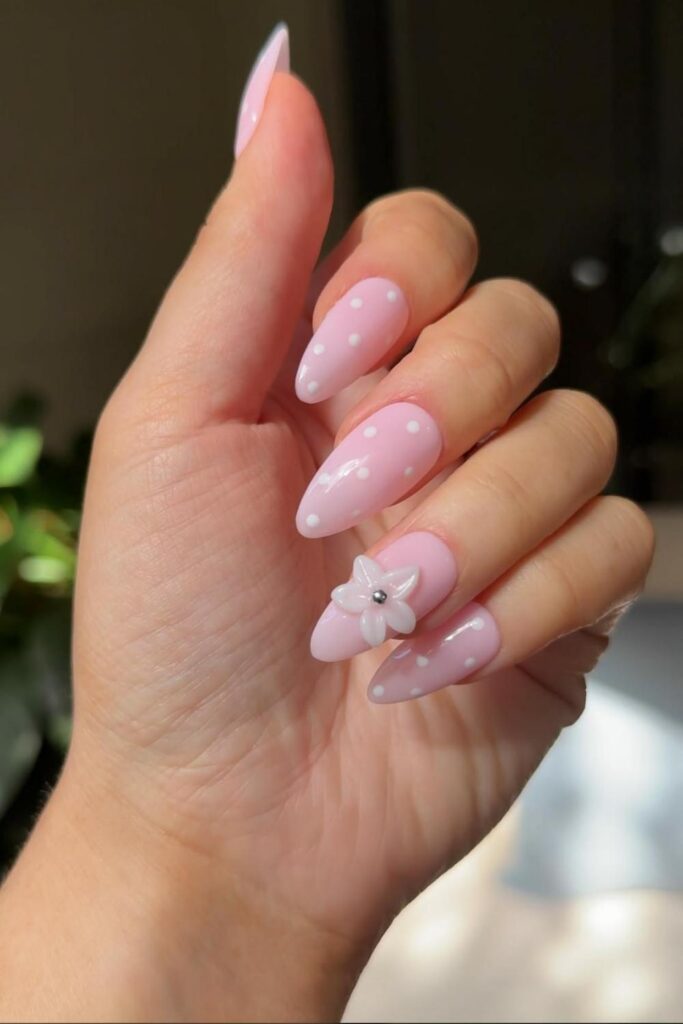
Five-petal flowers sound complicated and look beautiful, which makes them a perfect hack. Using a thin detail brush or even a toothpick, place five small dots in a circular cluster each dot becomes a petal. Add a contrasting dot in the center. That’s the entire flower. Scatter three or four across an accent nail over a soft base color and the effect is delicate and intentional.
White flowers on a sage green base. Pink on white. Yellow on terracotta. The combinations are endlessly wearable and the technique takes about ten minutes to practice into something you’d genuinely be proud to show off.
Half-Moon Nails with a Hole Punch Reinforcer
Those small circular sticker reinforcements sold in office supply sections are the perfect size for creating half-moon nail art. Press one at the base of your nail (at the cuticle end), paint the rest of the nail in your chosen color, let it dry, then peel the sticker off. What’s left is a clean, graphic half-moon in your base color surrounded by the painted shade.
This is a nail art style that’s experiencing a genuine resurgence right now it’s one of those shapes that bridges the gap between retro and modern perfectly.
Negative Space Nails Using Stickers
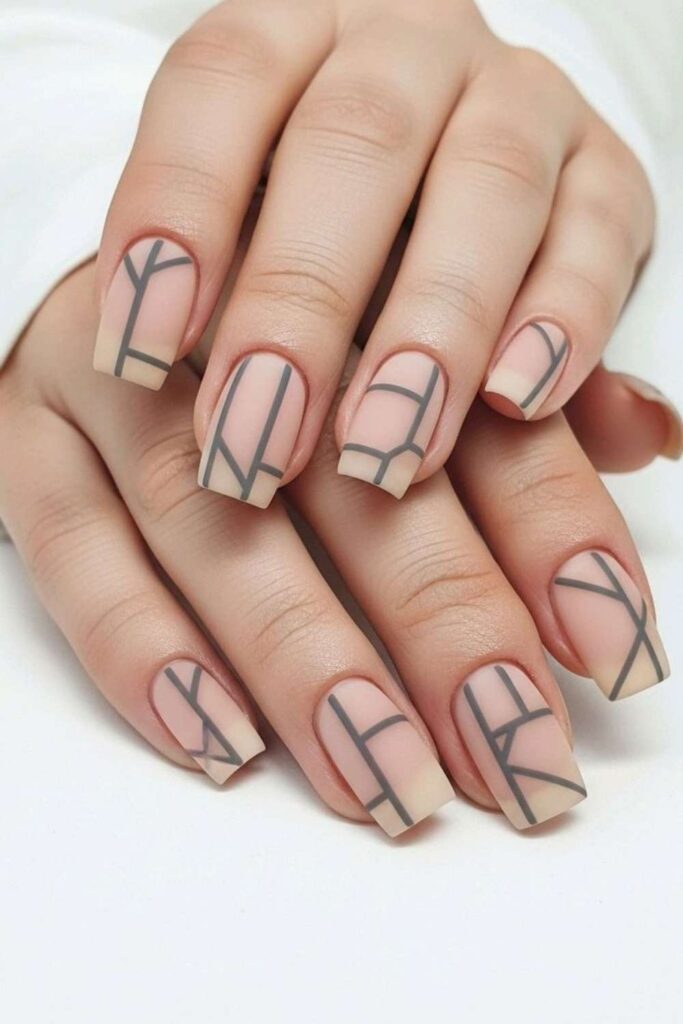
Nail stickers aren’t just decoration they’re a masking tool. Press any geometric or shape sticker firmly onto a bare or base-coated nail, paint over it completely in a contrasting color, wait until tacky, then lift. The shape underneath stays clean, creating a negative space design that looks deliberate and graphic. Stars, triangles, half-circles the sticker shape becomes the art.
Watercolor Nail Effect with Diluted Polish
Add a drop of nail polish to a small amount of acetone on a palette, then apply the diluted mixture in loose, overlapping washes over a white base. The pigment spreads and blends in organic, unpredictable ways that genuinely resemble watercolor painting. Seal with a glossy top coat to protect the effect.
Soft Layered Ombre Using Three Shades
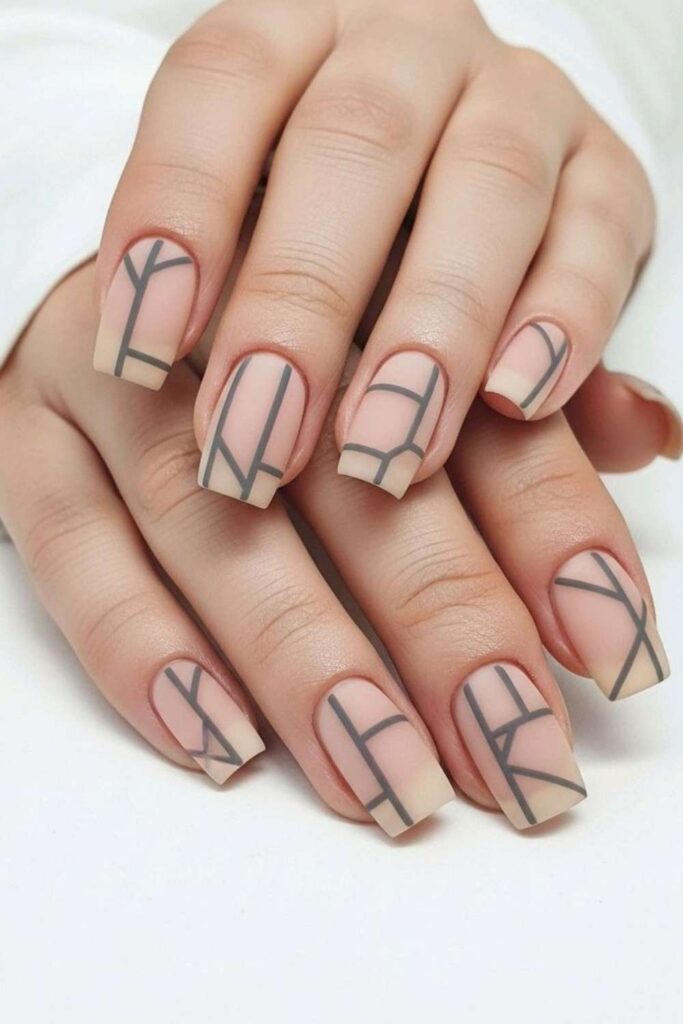
Most ombre tutorials use two colors. Using three with the middle shade overlapping both creates a gradient that looks significantly more sophisticated. Go light to medium to deep within the same color family, or try three complementary tones for something more unexpected. Sponge each shade in sequence, blending at the join points, and finish with a gloss.
Galaxy Nails with a Sponge and Glitter
Black base, then dab navy, deep purple, and forest green randomly using a torn sponge piece. While the last layer is still slightly tacky, press holographic glitter over the nail and shake off the excess. Add a few white dots with a toothpick for stars. Seal with top coat.
This sounds like a lot of steps but actually takes under 15 minutes once you’ve done it once and the result is legitimately stunning. Probably the most photo-worthy of all the easy nail art hacks at home on this list.
Read More About: 29 Short Nail Designs Minimal Easy Ideas You’ll Actually Want to Try in 2026
Tortoiseshell Effect with Three Polishes
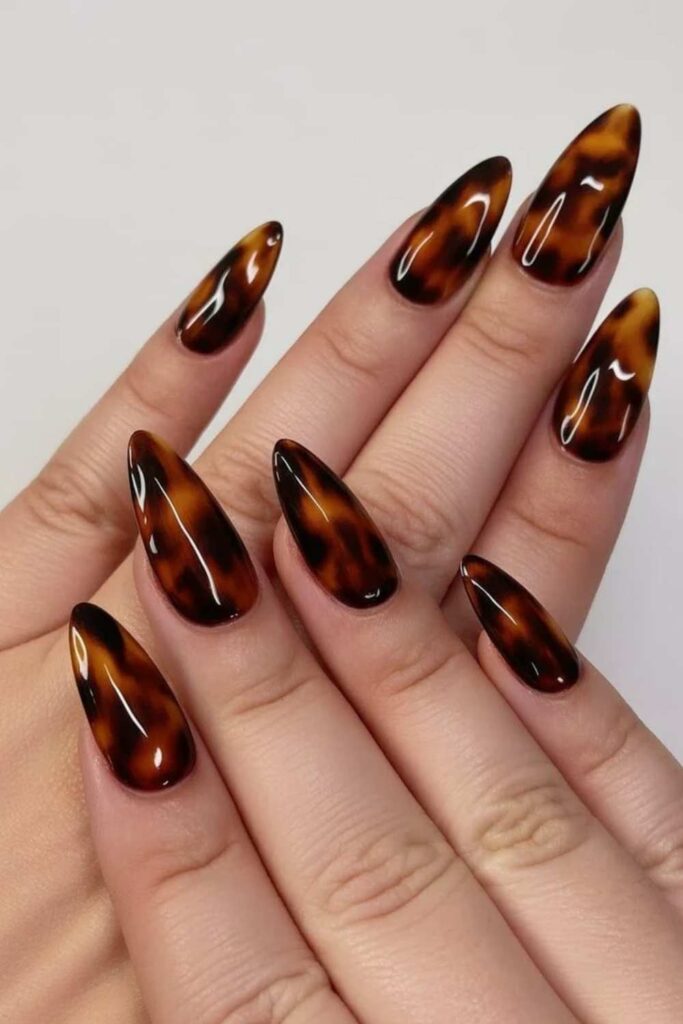
Paint a nude or warm amber base. While it’s still slightly wet, drop irregular patches of burnt orange, deep brown, and clear polish randomly across the nail. Drag a toothpick through the edges very lightly to blur the borders. Finish with high-gloss top coat. The result is a tortoiseshell pattern that looks hand-painted and completely intentional.
Snow Globe Effect with White Glitter
Paint a deep navy or forest green base. Once dry, apply one coat of clear top coat, then while it’s wet, press white micro-glitter across the nail by tapping gently with a sponge piece. The white particles scatter like snowfall against the dark background. Seal immediately.
Chrome Powder over Gel-like Polish
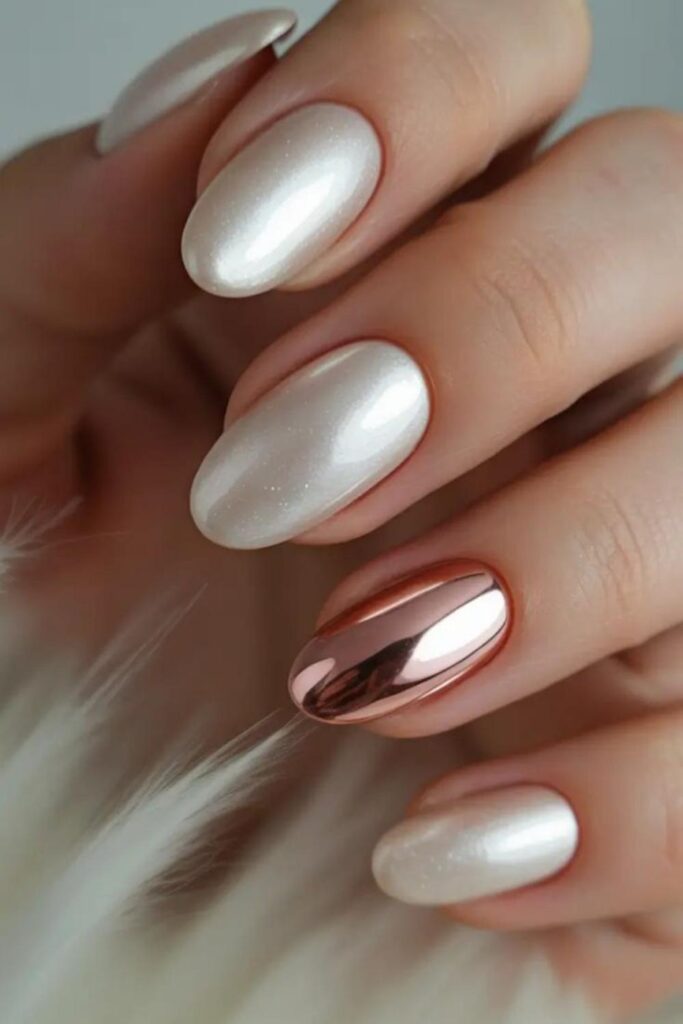
Chrome powder isn’t exclusive to gel manicures it adheres to any tacky top coat. Apply your regular polish, let it dry, then add a no-wipe top coat and let it cure (or just let it get very tacky). Rub chrome powder across the surface with a sponge applicator or eyeshadow brush. The mirror finish is startling in the best way.
Pressed Flower Accent Nail
Real dried flowers available online for very little money pressed flat and sealed under top coat create an accent nail that genuinely looks like wearable art. Apply a clear or sheer base, position the dried flower using tweezers, then seal with two or three layers of top coat to flatten and protect it.
This is the trend that’s slowly moving from niche to mainstream in 2026, and the window to be ahead of it is right now. Legitimately one of the most beautiful easy nail art hacks at home on this list and requires zero artistic skill.
Gingham Check Pattern with Striping Tape
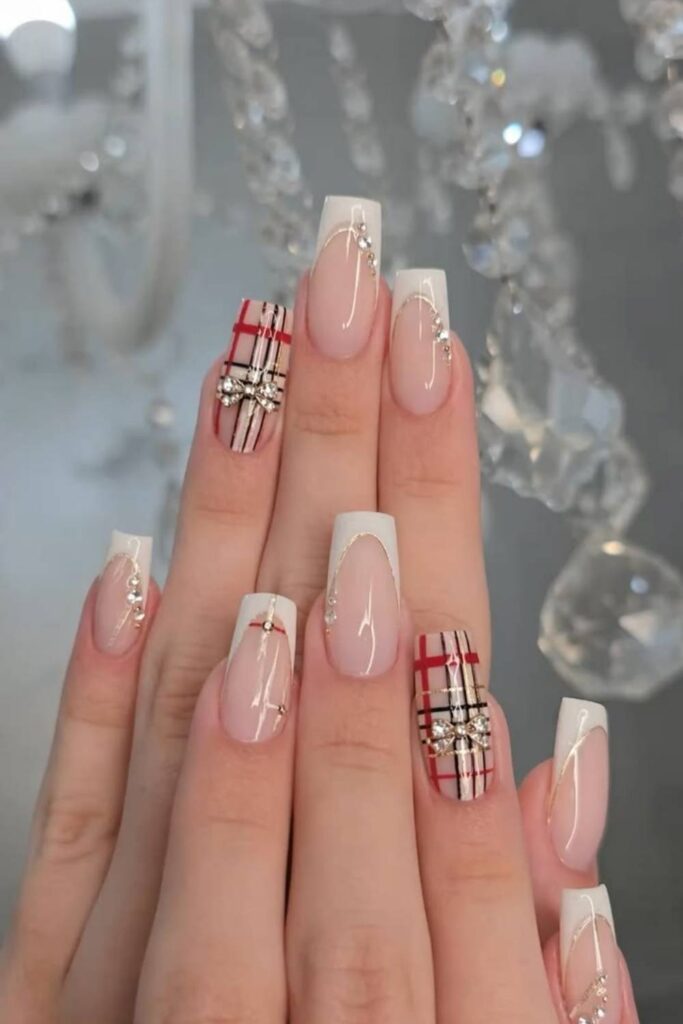
Two colors plus striping tape gives you a gingham check that looks time-consuming and is actually very systematic. Paint your base color and let it dry fully. Lay vertical tape strips evenly spaced. Paint horizontal stripes in the same color. Lift the vertical tape, re-lay horizontally, paint vertical stripes. Lift. The intersections create the darker check squares automatically. A grid, but make it fashion.
Pastel Cloud Nails with a Dotting Tool
A white base with soft irregular blobs of pale blue, lavender, and pink creates a cloud-like effect that reads as whimsical without being childish. Use a dotting tool or the back of a bobby pin to place soft, rounded clusters, slightly overlapping at the edges and blurred at the borders with a clean brush dipped in a tiny amount of acetone.
Duct Tape Chevron Design
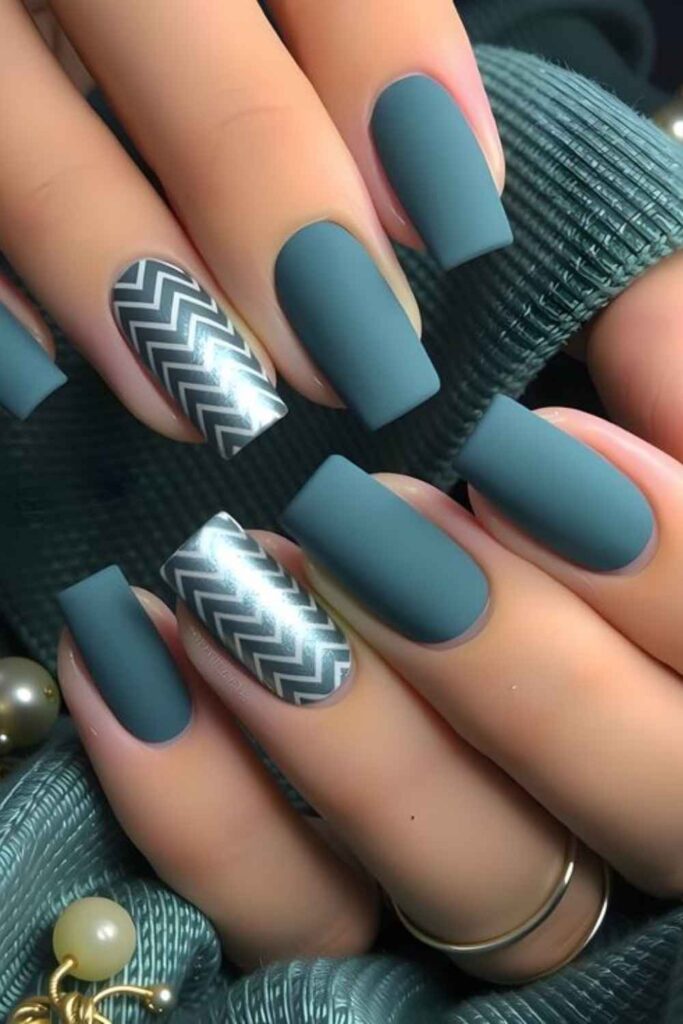
Cut a small strip of duct tape (or painter’s tape) into a V-shape and press it across the center of your nail. Paint above and below in different colors, let it dry, then peel. The chevron stripe you’re left with is razor-sharp. Duct tape’s lower adhesion level means it lifts cleanly without disturbing the layers underneath which regular tape sometimes doesn’t.
Glitter Gradient on Just the Tips
A full glitter nail is a commitment. A glitter gradient just at the tips is easier, more versatile, and honestly looks more sophisticated. Apply chunky or fine glitter polish starting at the tip and fade it back toward the middle of the nail using a sponge, concentrating the product at the very edge. Clean up with a thin brush dipped in acetone.
Drip Nail Effect Using a Thin Brush
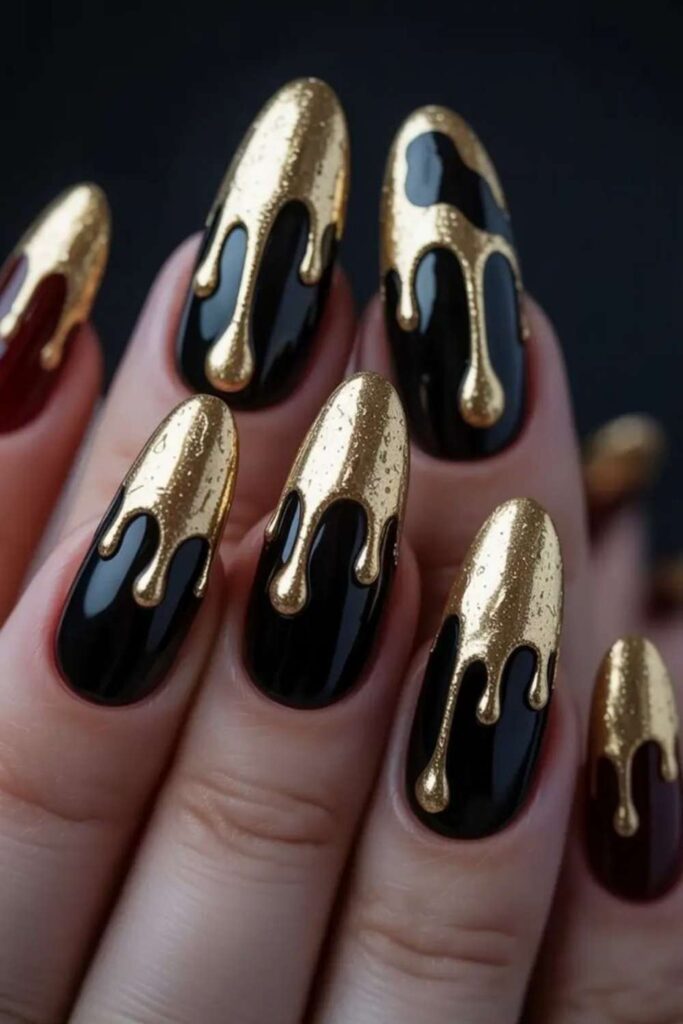
Choose a contrasting color to your base and thin it slightly with a drop of acetone. Using the thinnest brush you own (or a toothpick), paint irregular drip shapes starting from the cuticle line or the tip and trailing downward. The slightly thinned consistency makes the color flow naturally into convincing drip shapes.
Mirror Effect Using Aluminum Foil
Crumple a small piece of aluminum foil, then dab it onto a wet black or deep navy base. The foil texture creates a crushed metallic effect that mimics the look of expensive mirror nail polish. Two coats of high-gloss top coat seals and deepens the reflective quality significantly.
Striped Nails Using a Fan Brush
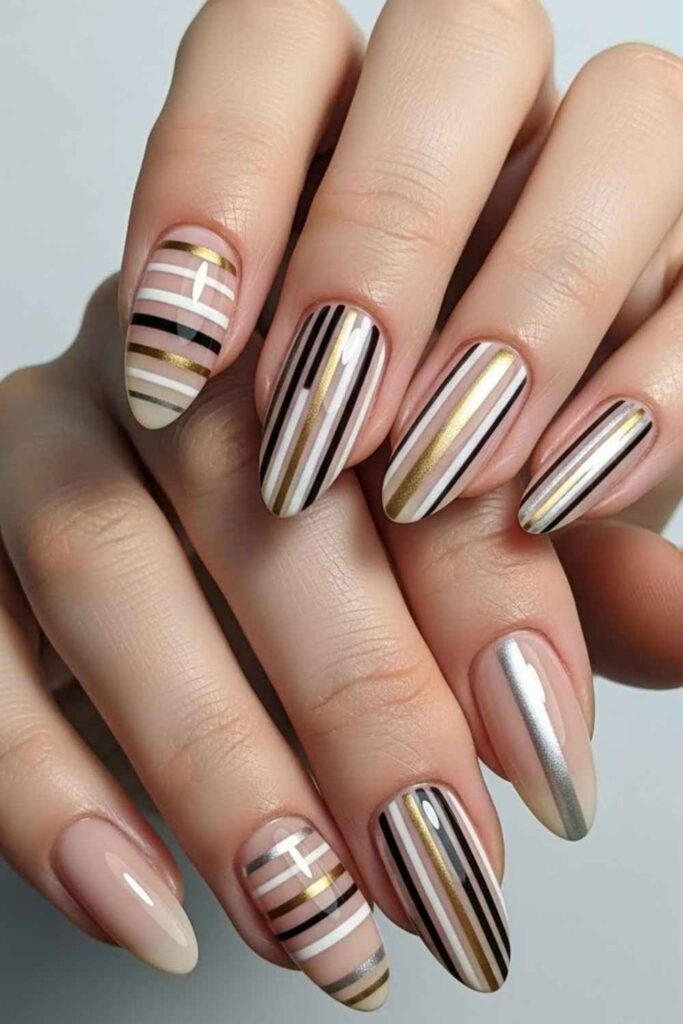
A fan brush the kind sold for makeup or watercolor painting dragged across a wet nail creates multiple thin parallel lines simultaneously. Load two or three colors onto the fan brush tips and drag in a single stroke for a multicolor stripe effect that would take twenty minutes with a liner brush and takes twenty seconds with a fan.
Dry Brush Texture Effect
Wipe most of the polish off a medium brush, leaving barely any product, then drag it lightly across the nail surface. The minimal product catches on the ridges of the nail and creates a thin, chalky, textural stroke effect. Layer two or three colors this way over a base for something that reads as artistic and deliberately rough-edged.
Color Block Nails in 90 Seconds
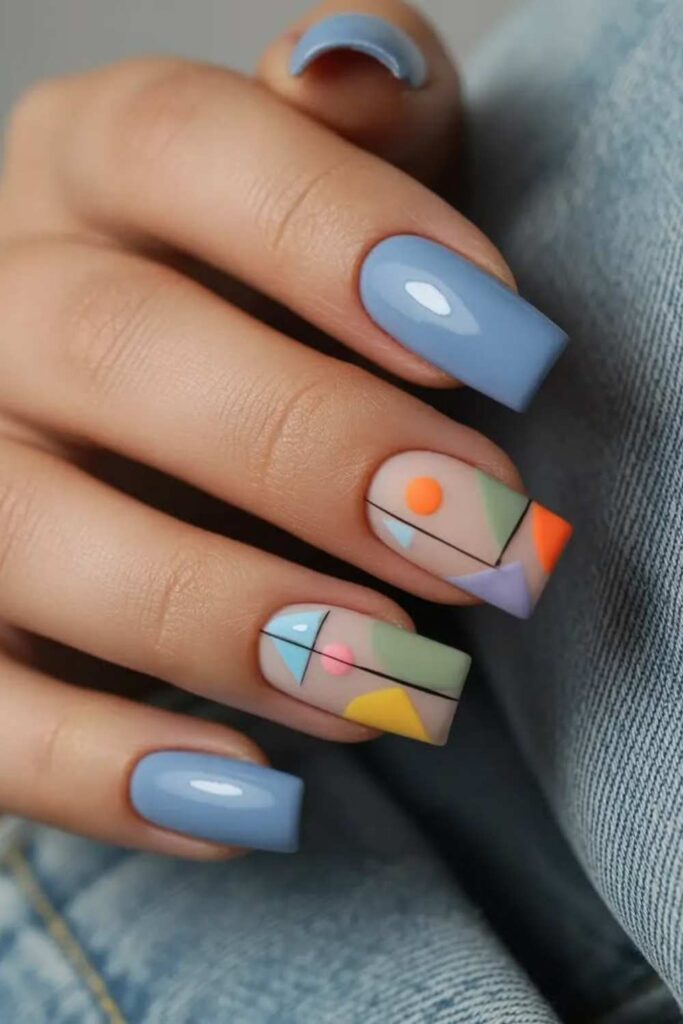
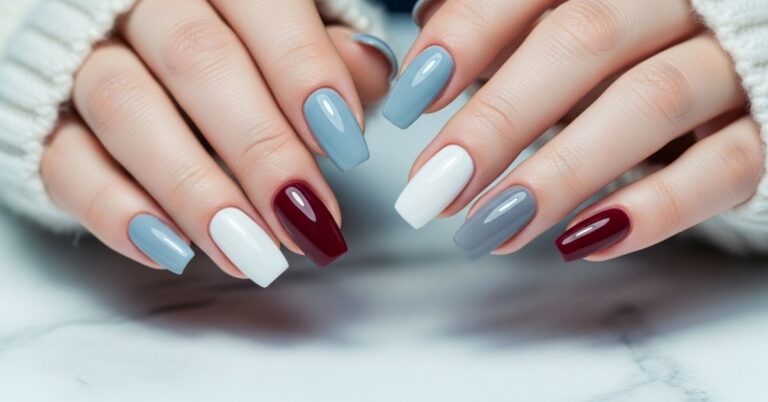
Paint each nail a different solid color specifically, choose four or five shades from the same color family so it looks like a considered palette rather than randomness. Dusty blue, sky blue, baby blue, slate, and white. Or terracotta, rust, peach, cream, and burnt sienna. The monochromatic color block set is one of the most effortless-looking results you can get with zero actual technique.
Hidden Base Color Reveal
Paint your nails in a sheer or light color, let it dry, then carefully apply a small amount of a contrasting bright color just to the underside edge of the nail tip. It stays invisible until your hands move in certain directions a subtle detail that’s worth the two extra minutes it takes.
This is exactly the kind of nuance that separates a good at-home manicure from a genuinely interesting one.
Read More About: 56 Simple DIY Nail Designs Short Nails That Look Surprisingly Expensive
Stamped Lace Nails with a Fishnet Stocking
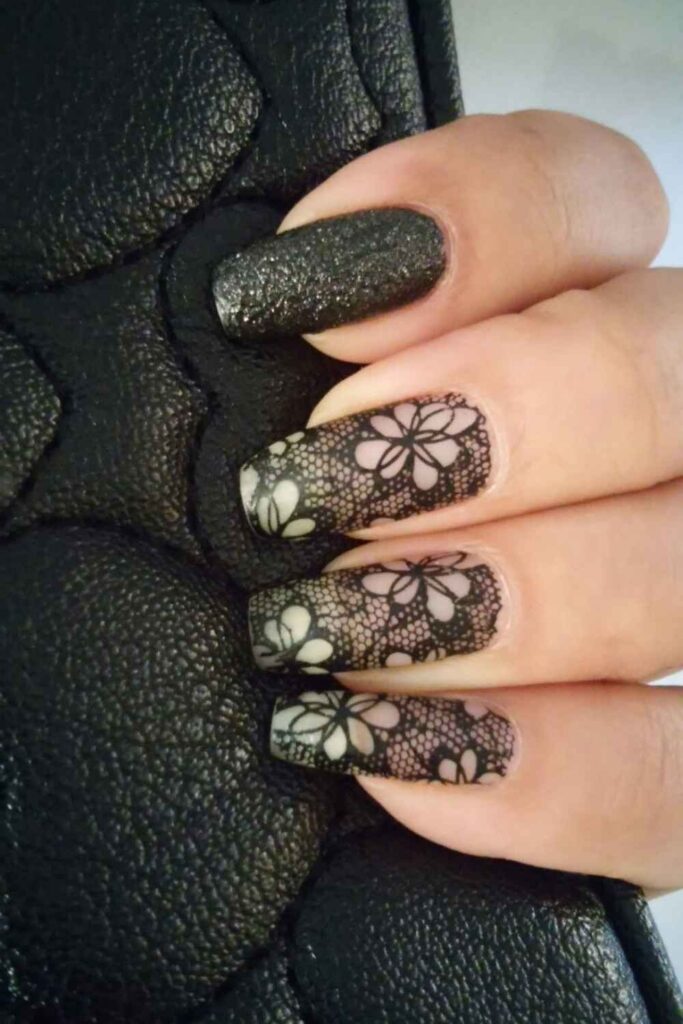
Stretch a small piece of fishnet stocking or lace fabric tightly over your nail and hold it in place. Sponge or brush a contrasting color over the top. Lift the fabric carefully. The mesh pattern transfers perfectly to the nail and creates a lace or grid texture that looks impossibly precise for a home technique.
One of the more impressive easy nail art hacks at home you’ll add to your regular rotation especially for event manicures when you want something that feels elevated without spending hours on it.
How to Choose the Right Nail Art Hack for Your Skill Level
Not every technique belongs at the same skill level, and starting with the wrong one can put you off the whole process. If you’re completely new to DIY nail art, begin with the tape methods, dot art, and color blocking they require no freehand skill and the results are consistently clean. Once those feel comfortable, move into sponge gradients, chrome powder, and striping tape geometric work. The truly freehand techniques like brush florals, drip nails, and tortoiseshell are worth saving for when you have a free afternoon and don’t mind a practice round on paper first.
Also worth knowing: your dominant hand will always do a better job than your non-dominant one, so if you’re practicing a new technique, start on whichever hand tends to look worse. By the time you get to the dominant hand, you’ll have the muscle memory sorted.
Quick Reference Table
| Hack | Skill Level | Tools Needed | Time to Dry | Best For |
| Scotch Tape French | Beginner | Tape, polish | 2 min | Clean, everyday look |
| Bobby Pin Dots | Beginner | Bobby pin | 1 min | Cute accents |
| Sponge Gradient | Beginner | Makeup sponge | 3 min | Ombre effect |
| Striping Tape Geometric | Intermediate | Striping tape | 2 min | Sharp, graphic looks |
| Chrome Powder | Intermediate | Chrome powder, top coat | 5 min | Mirror/salon finish |
| Toothpick Swirl | Beginner | Toothpick, 2–3 polishes | 2 min | Abstract, artistic nails |
| Pressed Flower Nail | Beginner | Dried flowers, tweezers | 5 min | Delicate, unique accent |
| Fishnet Lace Stamp | Intermediate | Fishnet fabric, sponge | 2 min | Event or statement nails |
| Watercolor Effect | Intermediate | Acetone, white base | 3 min | Soft, editorial finish |
| Color Block Set | Beginner | 4–5 polishes | 2 min | Effortless everyday set |
Common Mistakes to Avoid with DIY Nail Art
The most consistent problem with at-home nail art isn’t technique it’s patience. Applying a second layer before the first is fully dry is responsible for more ruined manicures than any other single mistake. Even when the surface feels dry, the layer underneath may still be soft enough to smear. Giving each layer a genuine two minutes (not a rushed 30 seconds) changes everything.
The second issue most people run into: using old or thick nail polish for detailed work. Polish thickens over time and drags instead of flowing, which makes any fine detail look uneven. If your polish has started to go gloopy, either thin it with a drop of polish thinner or save it for base coats and sponge techniques where the consistency doesn’t matter as much.
Skipping base coat is the third mistake worth addressing. A base coat isn’t just about protecting your nail from staining it creates a smooth, slightly tacky surface that helps subsequent layers adhere and last significantly longer. It’s two minutes that adds days to your manicure’s life.
Key Takeaways
- Tape, bobby pins, sponges, and toothpicks do most of the work that expensive tools are supposed to start with what you have
- Matte top coat over any existing polish is the single fastest way to refresh and transform a manicure
- Patience between coats matters more than technique most at-home nail art failures come from rushing
- Chrome powder works on regular polish (not just gel) when applied over a tacky no-wipe top coat
- Pressed flowers and fishnet stamps are two of the most impressive-looking results for the least technical effort
- When in doubt, color blocking in a monochromatic palette is always a clean, stylish choice that requires zero freehand skill
FAQ’s
What are the easiest nail art hacks at home for beginners?
The easiest easy nail art hacks at home for beginners are Scotch tape French tips, bobby pin dots, and sponge gradient nails. All three require zero freehand skill, use tools you already own, and produce results that look polished and intentional. Start with tape methods before moving on to anything freehand.
Do I need special tools for DIY nail art at home?
Not really most easy nail art hacks at home rely on items already in your home. Bobby pins, toothpicks, makeup sponges, Scotch tape, and even plastic bags or aluminum foil all double as nail art tools. The only things worth investing in are a matte top coat, striping tape, and a thin detail brush if you want to expand your options.
How do I make my at-home nail art last longer?
A proper base coat and a sealing top coat are non-negotiable for longevity. Apply top coat every two days to refresh the seal, keep your nails out of hot water for at least an hour after painting, and avoid using your nails as tools. Gel-formula top coats add extra chip resistance even over regular polish.
Can I do chrome nails at home without a UV lamp?
Yes. Chrome powder adheres to any tacky surface, not just cured gel. Apply a no-wipe top coat over your regular polish, let it get very tacky (about 60–90 seconds), then rub chrome powder across the nail with a sponge applicator. Seal with a regular top coat. The mirror effect is genuine no UV lamp needed.
What’s the best nail art technique for short nails?
Color blocking, half-moon designs, minimal dot accents, and sheer jelly nails all work exceptionally well on shorter nail lengths. Avoid overly busy designs on short nails the simpler and more graphic the design, the more intentional it looks. Negative space techniques also create visual length on shorter nails.
How do I fix uneven nail art without starting over?
A thin brush dipped in acetone works as a precision eraser drag it along any edge that needs cleaning up. For larger mistakes, a sponge lightly dampened with acetone can remove a single layer without disturbing the base coat. If the design is genuinely unsalvageable, a matte top coat over everything creates a new base you can add simple accents onto.
Are press-on nails better than DIY nail art at home?
It depends entirely on your priorities. Press-ons are faster and more uniform, but easy nail art hacks at home with regular polish tend to be more customizable, more affordable over time, and significantly better for nail health with proper application and removal. For a one-day event, press-ons win. For regular wear, DIY is usually the smarter investment.
Conclusion
You don’t need a nail appointment every two weeks to have nails worth photographing. The easy nail art hacks at home on this list cover everything from genuinely beginner-level tape tricks to intermediate techniques that look like they came straight from a salon menu and most of them cost nothing beyond the polish you already own.
The best approach is to start with two or three of these that match your current tools and skill level, get comfortable with the process, and layer in new techniques as you go. Nail art at home is one of those skills that compounds fast what feels tricky the first time usually clicks completely by the third attempt. Pick your first hack, clear some space on the table, and see what your hands are actually capable of. You’ll probably surprise yourself.